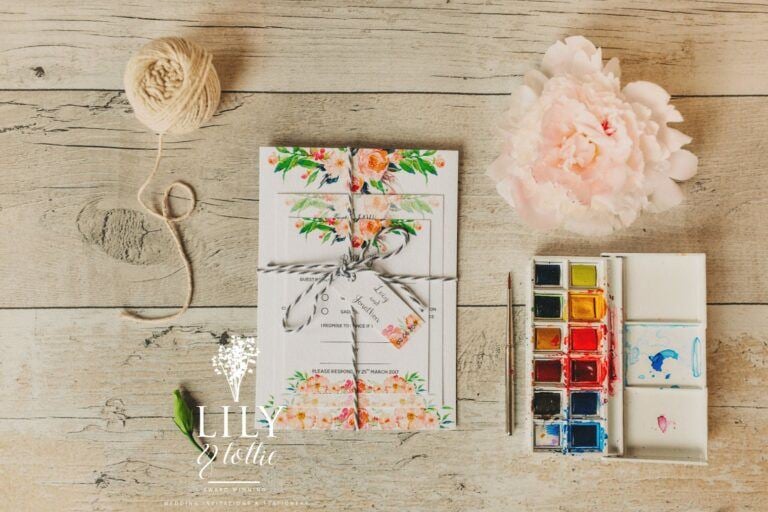
How to Make DIY Wedding Invitations


Between save-the-date cards, wedding invitations, and thank-you cards, the cost of professionally printed wedding stationery certainly adds up. Although hiring a professional to create these important keepsakes is a fantastic hassle-free option, there’s something to be said for the warmth and cost-effectiveness of DIY wedding stationery.
Making your own wedding stationery is a great way to not only save money but also add a personal touch to your big day. It’s an opportunity to let your creativity shine, craft bespoke keepsakes, and leave a lasting impression on your guests from the moment they receive their invitation.
So, if you’re looking to add a touch of uniqueness and a dash of your own personality to your wedding stationery, keep reading! This post explores the benefits of making your own wedding stationery, gives a step-by-step guide to DIY wedding invites, and highlights some wedding invitation etiquette to consider.
The benefits of making your own wedding stationery
There are several benefits to making your own wedding stationery. These include:
- Budget-friendly. Professional printing services can be very expensive, and the cost-saving benefits of making your own wedding invitations can’t be underestimated. Plus, anything you save in wedding invitations can go towards other aspects of your big day!
- A personal touch. Professionally printed wedding invitations are professional and beautiful. However, there’s nothing like the handmade beauty of a DIY wedding invite. This personal touch means your wedding invitations are 100% original and tailored to match your colour scheme and decor.
- Quality control. When you make your own stationery, you have full control over the quality. You can choose the type of paper, font, printing method, and ensure that every detail meets your standards. This level of control guarantees a finished product that’s exactly as you envisioned.
- Easy to make last-minute changes. DIY stationery gives you the flexibility to make last-minute changes to your design. For example, you might have a sudden inspiration for a different accent colour or decide to include a special quote or song lyric that resonates with you and your partner.
- A bonding experience. Making your own wedding stationery can be a fun bonding experience with your soon-to-be spouse, maid of honour, or other members of your wedding party.
How to make your own wedding invitations
Making your own wedding invitations isn’t difficult. It just takes a little bit of time, effort, and forward planning. Try following our eight steps to design, create, and send your dream, budget-friendly wedding invitations.
Making your own wedding invitations isn’t difficult. It just takes a little bit of time, effort, and forward planning. Try following our 11 steps to design, create, and send your dream, budget-friendly wedding invitations.
1. Find your style
The first step of wedding invite DIY is to gather inspiration and find your personal style. Most people like to match their invitations to the theme of their wedding. For example, neutral and elegant, dark and bold, bright and colourful, or pastel and cutesy.
However, if you’re not yet sure what theme you want, try flicking through wedding magazines, checking out dreamy Instagram posts, pinning on Pinterest boards, or visiting art galleries. Take photos of anything that catches your eye and collate them into a physical or digital mood board. Are there any common themes, colours, or styles? If so, these might be the clues to your wedding invitation style, and you can use these as your inspiration when crafting your wedding invites.
2. Calculate your budget
Don’t make the mistake of thinking that low cost means no cost. There will still be expenses you need to budget for when making your DIY wedding invitations. For example:
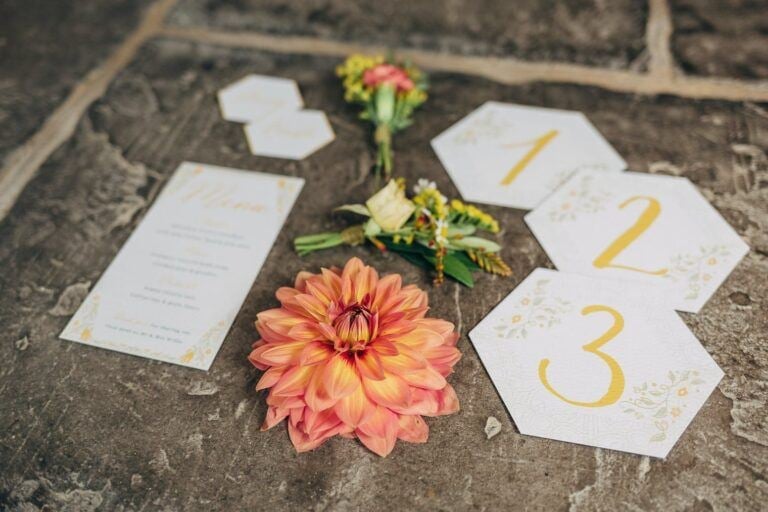
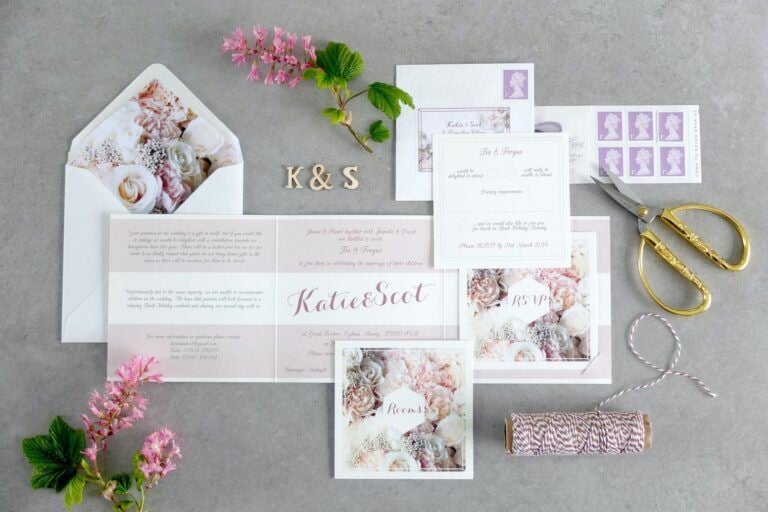
- Paper. Consider the thickness of your paper and the type of paper you’d like. For example, you might opt for heavyweight cardstock if you want a luxury look and feel. On the other hand, recycled or coloured paper is great for a shabby-chic or rustic look.
- Ink. Higher-quality ink is understandably more expensive than its budget-friendly counterparts. In addition, printer ink is usually cheaper than calligraphy ink or specialty glitter ink. While it may seem like a small detail, the choice of ink can significantly impact the overall aesthetic of your DIY wedding invitations.
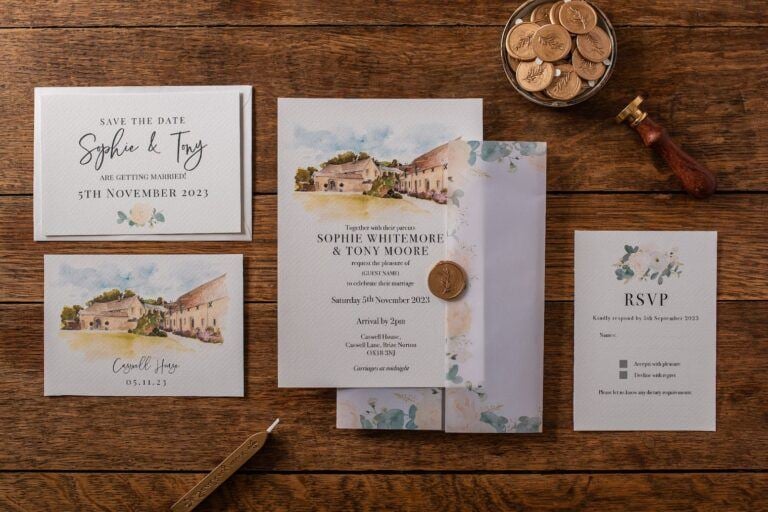
- Envelopes. Think of envelopes as the gift wrapping of your wedding invitations. Custom-designed or coloured invitations will be more expensive than their standard counterparts. Embellishments like wax seals, custom printing, or personalised stickers will increase the cost.
- Postage. Postage costs will be pretty standard no matter where they’re sent from. However, you can save money by ensuring your invitations fall within standard size and weight guidelines to avoid extra fees. You can also hand-deliver invitations to save on postage costs.
- Embellishments like ribbon, glitter, bows, dried flowers, or appliqués. Again, the quality of these materials is usually reflected in their cost.
- Crafting tools. Crafting tools might include small things like glue, scissors, or precision knives. However, they might also include larger items like printers, computer software, or larger paper cutters. These large tools can save a lot of time if you have a lot of invitations to craft, but the upfront cost can significantly increase your budget. If possible, consider renting these tools or hiring professional vendors for one-off use, for example, a one-off printed stencil which you can then use for many hand-crafted invitations.
It’s also a good idea to keep a small budget aside for any unexpected costs or last-minute changes that might creep up during the design process. Setting a small extra budget aside will help you be prepared in case of any bumps in the road.
Pro tip: If you’re not a fan of number-crunching, don’t worry – our handy budget tool will do all the hard work for you!
3. Consider using technology or professionals
If you’re not very crafty, you can speed up wedding invitation DIY by using technology or professional wedding vendors. For example, you could download a wedding invite template, print it off on cardstock, and hand-finish it with dried flowers, ink, and ribbon. You can find a range of print-on-demand wedding templates with the following great suppliers:
On the other hand, if you’re looking to speed up the writing process, you could print, cut, and decorate your own wedding invitations, before handing them over to a professional calligrapher for a touch of elegance. This way, you get the best of both worlds —the efficiency of technology, your own personal touches, and the beautiful finish of a skilled calligrapher.
The key takeaway here is that making your own wedding stationery is a flexible and customisable process. If hands-on crafting isn’t your forte, technology and professional vendors are there to lend a helping hand.
4. Pick your theme and colours
The next step is to pick your theme and colours. Most couples match their invitation colours to the colours of their wedding. This will give guests a sneak peek at what they can expect and keep a consistent theme across all the wedding stationery.
However, some people prefer their wedding invites to be in a contrasting colour or style to their wedding theme. This can make your wedding invites more striking and memorable.
Ultimately, the choice between matching or contrasting invitations comes down to your personal preferences and the message you want to convey to your guests.
5. Consider the fit
The secret to getting professional-looking wedding invitations is to ensure they’re properly centred in the middle of your paper and there’s an even border all around the document.
Start by ensuring your design sits right in the middle of your chosen paper. Centring not only enhances the visual appeal but also gives a sense of balance and professionalism. Use a combination of precise measurements, guides, and printer settings to ensure your corners and borders are aligned, and make sure your printer settings are calibrated for accurate results. Pay attention to factors like paper size, weight, and orientation to avoid any unexpected surprises.
Be aware that your printer might not always play ball: we recommend cutting your invitations with an extra-wide border. You can then trim them down to the exact size after printing for a flawless finish.
6. Gather your supplies
You should then gather your wedding invitation supplies. Although you can collect them as you go, it makes more sense to take a proactive approach and collect all the materials you need before you start your wedding invite DIY. This way, you can settle down and focus all your attention on making your beautiful invites.
7. Make a first draft
Now for the fun part — it’s time to get started! It’s a good idea to make a first draft of your invitations to make sure you’re happy with the layout and colour scheme, and to make sure there’s enough room for all the written information.
Creating a first draft allows you to fine-tune your wedding invitations and ensure they communicate all the essential information. Take your time at this stage to make sure your invite is exactly how you’ve envisioned. Once you’re satisfied with the draft, you can start crafting the rest of your invitations!
You don’t have to go completely DIY when making your first draft. There are plenty of downloadable wedding invitation templates you can find online, which you can customise and then print out at home for a fraction of the price.
Many professional stationers also offer bespoke, DIY options. For example:
- Print Glorious Print – Print Glorious Print is an online customisable wedding invitation company. You can tailor pre-designed templates to build the perfect design for your wedding invites.
- Amore Invitations – Amore Invitations specialise in creating and designing elegant handmade wedding stationery and greetings cards. This includes templates you can edit and print at home (with digital downloads starting from as low as £1!).
- Pure Invitation – Pure Invitation offers bespoke DIY and handmade invitations and on-the-day stationery, in countless colour combinations. Choose to DIY using their easy assembly kits or let them do the assembly for you.
- Chic wedding designs co – Chic wedding designs co work with leading artists, illustrators, calligraphers and brands to offer a highly curated and unique collection of designs. These can be personalised by you online and sent digitally.
- Danielle Hamilton – Danielle Hamilton provides fully editable DIY wedding stationery. You can download them as a digital file (in PNG, JPG, or PDF), and then take to your local printer or print at home to save thousands!
8. Assemble your wedding invites
Once you’ve perfected your first draft, you can start making your invitations. We recommend blocking out a day and doing them in one sitting. Although it might seem like a lot of work, the relief that will come from completing your wedding invitations in one day will be well worth the effort.
If you have a lot of invites to DIY or you aren’t very crafty, we recommend enlisting the help of your soon-to-be spouse, parent, or someone else from the wedding party. Having an extra pair of hands and a fresh perspective can make the process smoother and more enjoyable. Plus, it can be a fun experience that creates happy wedding planning memories.
9. Post your invites
Once completed, it’s time to pack your invitations into envelopes and post them to your guests. Be sure to include an RSVP card so your guests can respond to your invitations.
Double-check any addresses before you post your wedding invitations. There would be nothing worse than putting all that effort in for the invitation to go to the wrong place!
10. Track your RSVPs
Try to keep track of your RSVPs as they come in. Although this may seem like a task you can put off, keeping a record of your RSVPs as you receive them will save you a lot of time and stress as your wedding day approaches.
Pro tip: Use Bridebook’s Guest List tool to effortlessly manage all your wedding guests and invites. Here you can add the date you sent their invitation, the date you received their RSVP, any important information like dietary requirements, and even their contact details.
11. Celebrate!
The final step is to celebrate! Finishing making your own wedding stationery is no small task, and you deserve a glass of bubbles or a nice cup of tea once it’s all over.
Recommended wedding invitation etiquette
Send them in plenty of time
Wedding invitations should be sent out six to eight weeks before the wedding date, allowing your guests ample time to RSVP and make necessary arrangements. If you’re having a destination wedding or a wedding during a busy season, consider sending them even earlier.
Include a dress code
If you have a specific dress code for your wedding, mention it on the invitation. Common dress codes include “black tie,” “formal,” “semi-formal,” or “casual.” However, you can also ask people to dress in specific colours, or even to completely avoid specific colours. For example,
“We would appreciate it if our guests dressed in pastel shades to maintain the tea-party aesthetic. Please avoid dark colours like black or navy blue. And, of course, please don’t wear white.”
Address the cards properly
Although it may sound simple, addressing your cards to the proper people can prevent any miscommunications or mix-ups regarding who is invited to the wedding. For example, if you’re having a child-free wedding, but you address your wedding invitations “To The Smith Family,” there may be some miscommunication regarding which members of the family are invited on the day. However, if you specify, “To Jane and John Smith only,” there will be no confusion.
Include an RSVP card
Including RSVP cards is a practical way to facilitate the RSVP process. To be extra proactive, pre-address the RSVP slips and include a stamp in the envelope.
The bottom line on DIY wedding invites
Making your own wedding stationery is a fun and creative way to infuse a personal touch into your wedding day. Although professional wedding invitations are beautiful and convenient, crafting your own invitations will allow you to design an invitation that’s as unique as your big day, not to mention affordable. Although it might seem daunting, crafting your own wedding invitations is easier than you might think. All you need is a little forward planning, a dash of creativity, and plenty of time.
So, if you’re considering DIY wedding invitations, take the plunge with confidence and enthusiasm. Enjoy the process of turning your ideas into special keepsakes for your family and guests, and remember that every detail you add and colour you choose becomes a part of your love story.
If, on the other hand, you’re not sure DIY wedding invites are for you, we’ve got plenty of professional stationers right here on Bridebook who can create handmade, bespoke designs that are sure to delight your guests-to-be. We’ve also got a host of money-saving tips to help your wedding stationery budget go further.
You Might Also Like…
- How to Save Money on Wedding Stationery
- What to Write in a Wedding Card: Top Tips and Examples
- What to Write in a Wedding Thank You Card: Top Tips and Examples
- Who Should You Send Wedding Thank You Cards To?
Happy Planning!
Related articles